MATEX
Quick Contact
X

    Navigation
    Close menu
    Theme Color
    Light Dark

    Waterproofing Accessories

    Hydrotape polypropylene waterproofing tape lining for corners, joints and floor drains by MATEX

    Hydrotape

    Waterproofing Tape Linings for Corners, Perimeter Joints, Culverts and Floor Drains

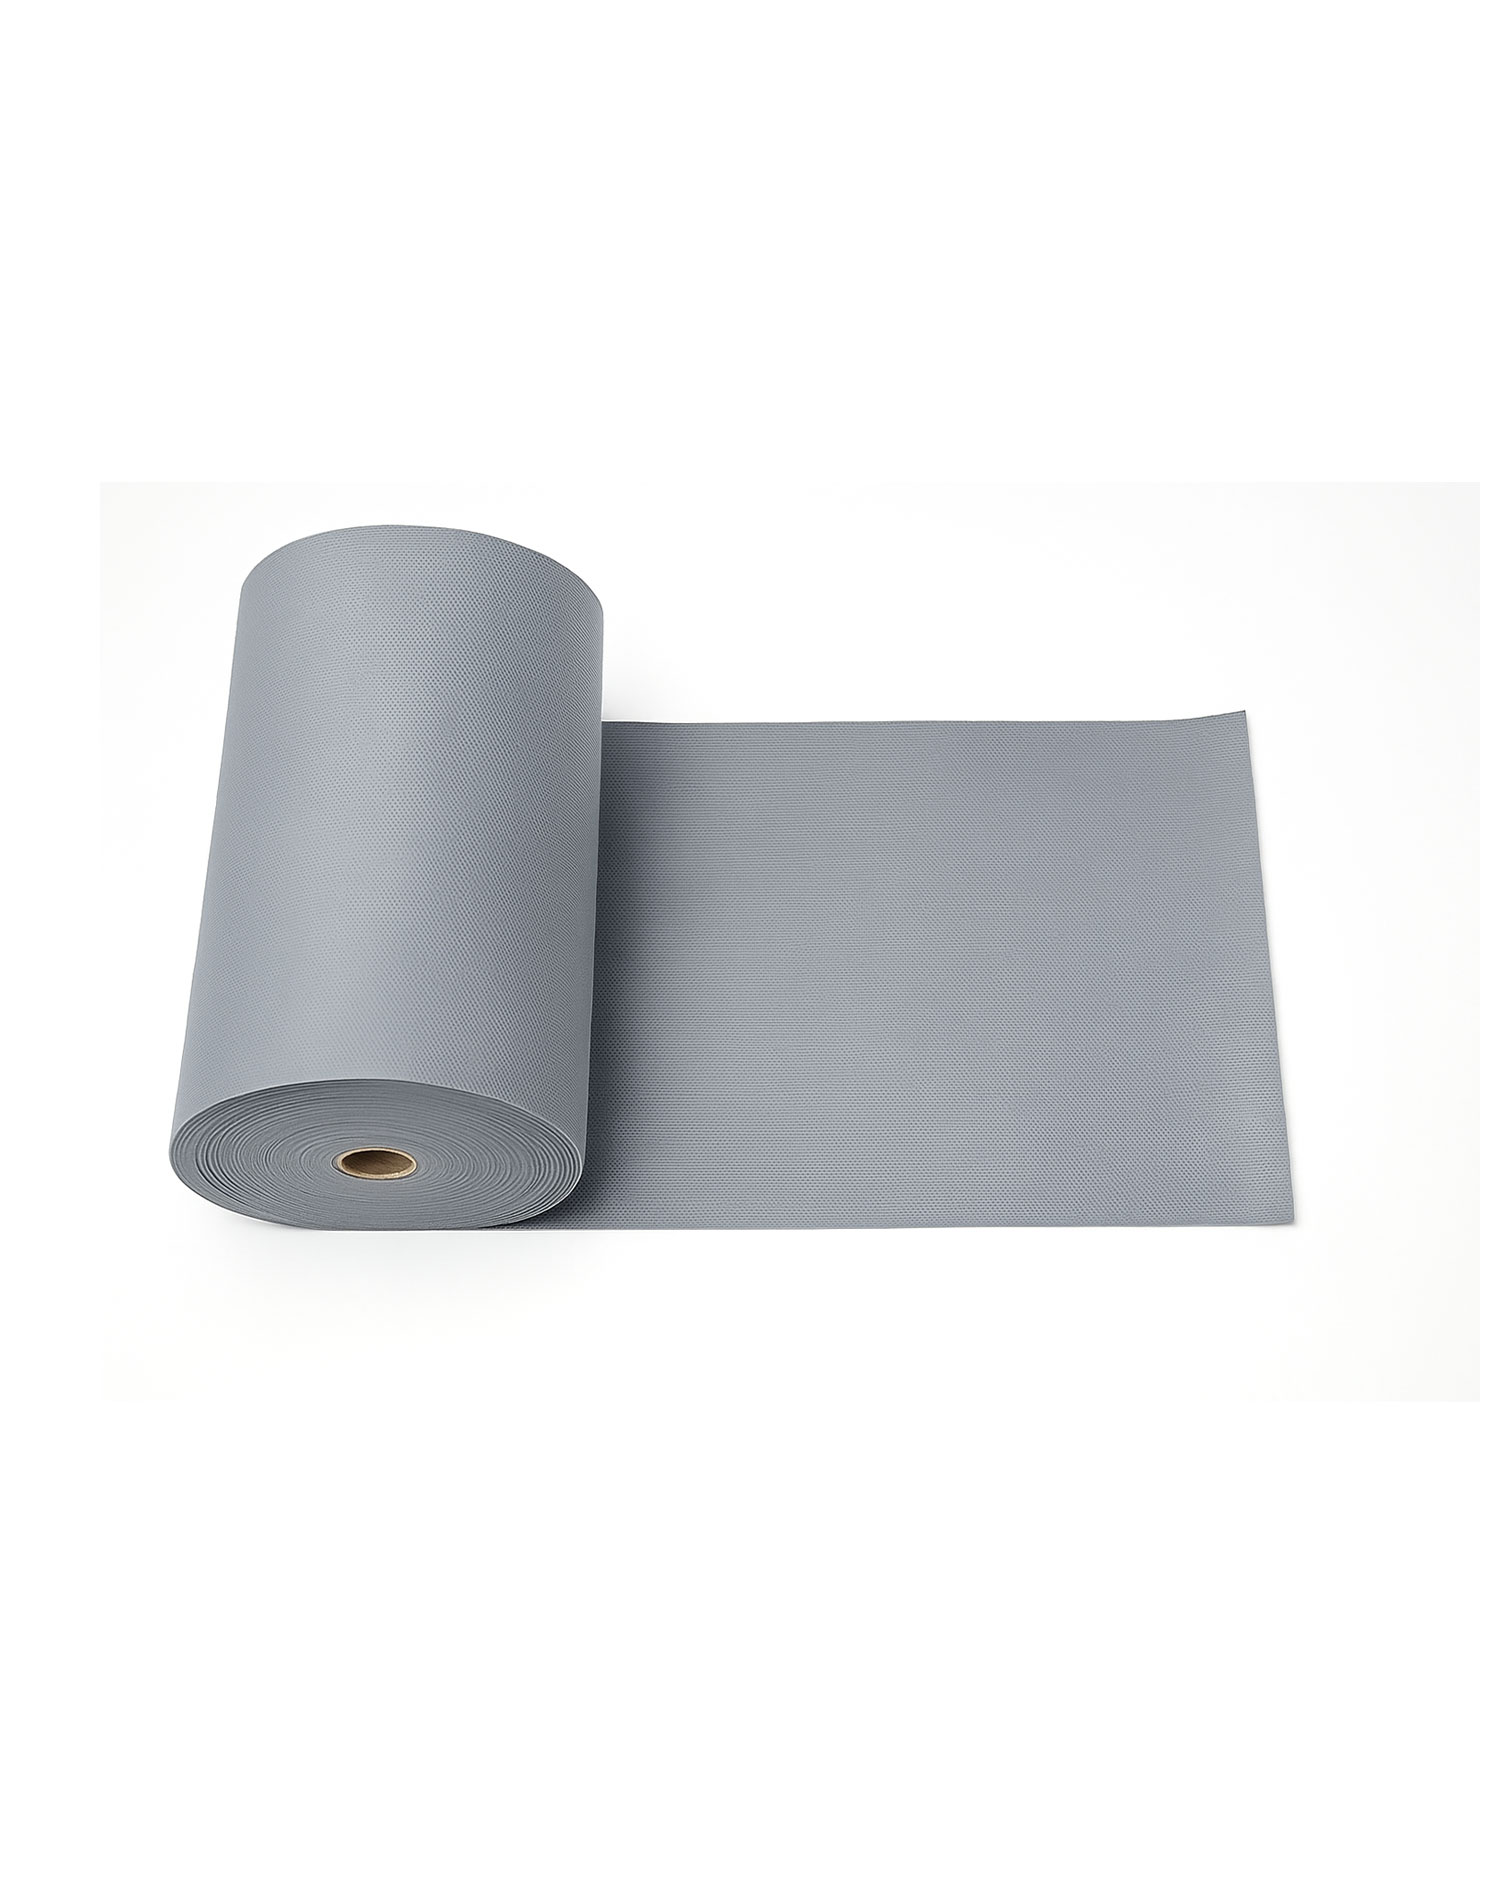
    HYDROTAPE is a non-woven polypropylene fabric specifically developed to reinforce waterproofing membranes in high-risk areas such as corners, joints, and transitions. Its excellent flexibility, breathability, and water resistance allow it to bond seamlessly with waterproofing systems, enhancing their durability and performance, HYDROTAPE helps maintain membrane integrity while improving resistance to impact, tearing, and tensile stress. It is lightweight, alkali-resistant, and performs reliably in tropical climates. Pre-cut for quick and simple installation, HYDROTAPE conforms easily to complex surfaces, delivering consistent reinforcement and long-term waterproofing protection.

    Technical data:
    • Composition : polypropylene non-woven tape
    • Appearance/color : greyish
    • Packaging : 50m x 200 mm, 50m x 100 mm

    How to Apply Hydrotape

    Hydrotape is pressed into a fresh coat of MATEX liquid waterproofing membrane at corners, joints and changes of plane, then covered with a second coat.

    1. Prepare the substrate. Surfaces must be sound, clean, dry and free from loose material, efflorescence, laitance, curing compounds, dirt, oil and grease, and must be mechanically cleaned; grinding may be needed to level the surface. Cementitious render must be cured for at least 7 days, and absorbent surfaces dampened with water before waterproofing.
    2. Prepare the liquid membrane. Hydrotape is a sheet and needs no mixing. Prepare the liquid membrane as described in its own Technical Data Sheet or Method Statement.
    3. Apply the first membrane coat. Apply a coat of the MATEX waterproofing membrane manually in a uniform 1 mm thick layer. At floor/wall and wall/wall connections, apply the membrane approx. 10 cm and/or 20 cm wide by brush or trowel.
    4. Embed Hydrotape. While the membrane is still fresh, lay Hydrotape onto it and press it firmly, overlapping adjacent lengths by at least 5 cm at longitudinal and transverse junctions. Press it in with a roller, squeegee or brush so it is fully wetted, with no air bubbles or creases; do not use sharp-edged tools.
    5. Apply the second coat. When the first coat is dry enough to walk on, apply a second coat of the waterproofing membrane to fully cover the Hydrotape.
    6. Clean up. Clean tools as per the liquid membrane’s TDS. Vacuum any dust produced when cutting the fabric.

    Summary of the method in the Hydrotape Technical Data Sheet. Always follow the full TDS on site.

    Frequently Asked Questions

    Where is Hydrotape used?

    Hydrotape reinforces waterproofing membranes at joints, corners, angles, changes of plane and pipe penetrations. Typical areas include swimming pools, bathrooms, shower cubicles and wet rooms, roofs with intricate designs, retaining walls and terraces, indoors and outdoors.

    How do you install Hydrotape at wall and floor junctions?

    Apply the waterproofing material approx. 10 cm and/or 20 cm wide by brush or trowel at the floor/wall or wall/wall connection, then press Hydrotape into the wet material. Cover it with a second coat once the first is dry enough to walk on.

    What roll sizes does Hydrotape come in?

    Standard rolls are 50 m x 200 mm and 50 m x 100 mm. A 50 m x 1000 mm roll is available on request.

    What is the shelf life of Hydrotape?

    Hydrotape does not expire if stored cool and dry in original, unopened, undamaged packaging at +5°C to +35°C.

    Quick Contact